Project: 1969
Chevrolet Chevelle
SS
Status: Completed
Here are some details about the 1969 Chevrolet Chevelle SS:
Engine:
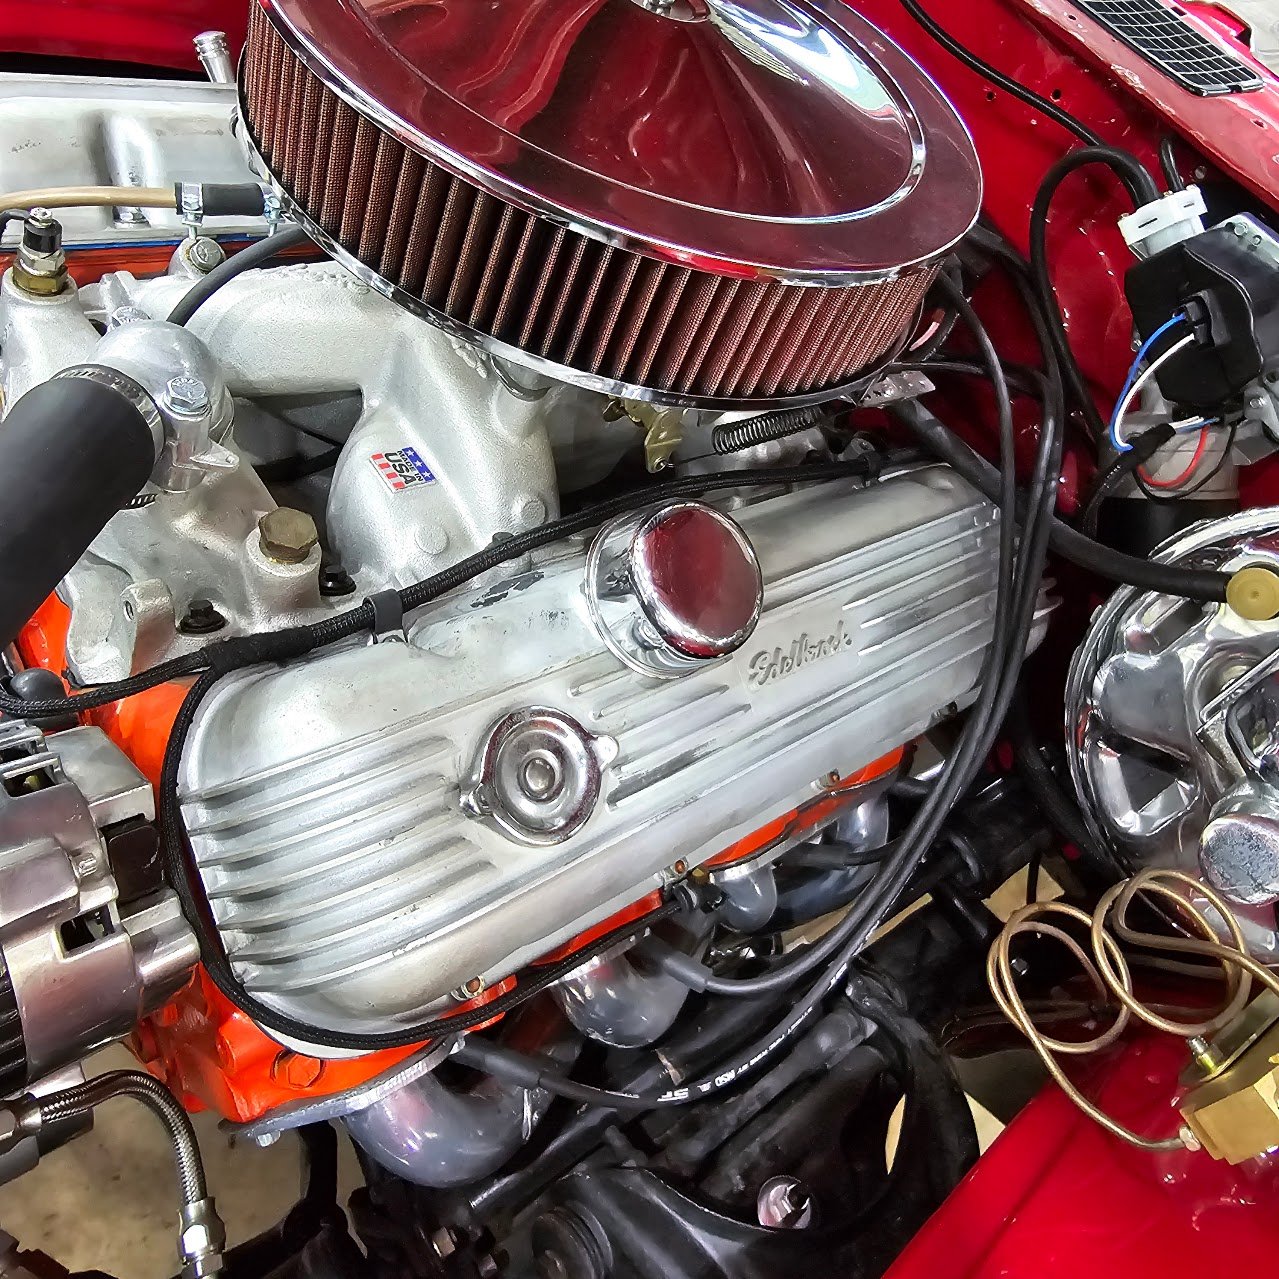
The base model was equipped with a 396 cubic inch V8 engine that produced 375 horsepower at 5600 rpm and 415 pound-feet of torque at 3600 rpm. It featured a 1 x 4 bbl fuel system and had a compression ratio of 11.0:1.
Performance:
The 1969 Chevelle SS could accelerate from 0 to 60 miles per hour in 6.5 seconds and complete a quarter mile in 14.5 seconds at a speed of 101 miles per hour.
Transmission:
The Chevelle SS offered seven transmission options, including two manual three-speeds, two manual four-speeds, an overdrive three-speed, and two automatics.
Body Styles:
The Chevelle SS was available in hardtop, convertible, and post-coupe body styles.
Safety Features:
The 1969 Chevelle SS included new safety features such as a collapsible steering column as a standard feature.
Options:
Optional features for the Chevelle SS included Superlift air shock absorbers, Strato-ease headrests, and full instrumentation.
Wheelbase:
The wheelbase measured 112 inches for two-door and convertible models, and 116 inches for all other models.
Dimensions:
The Chevelle SS was 76 inches wide, with heights ranging from 52.7 inches for the convertible to 54.3 inches for the station wagon.
History
and Facts
PROGRESSION PICS
The Final stretch
Mechanical Labor
Paint & Body
with Andrew
-
Body removed frome frame
Chasis sanded down
Primed Chasis for paint
Painted Chasis
-
Prepared underside of body for Raptor lining
Lite sanding and a wipe down with degreaser
Sprayed Raptor (x2)
-
Mounted body back to the Frame
-
Finished the custom box for the Subwoofer
Adjusted kick panels for speakers
Made custom panels for the trunk to mount the amp
Ran power cable from engine bay back to the trunk to provide power to the Amp
Cable management & looming
Fabrication
& Mechanical Labor
with Tyler
-
sanded speedo gear to get proper clearance
installed speedo cable bullet and gear into transmission
installed speedo cable at transmission and ensured minimal issues with shifter linkage
ran speedo cable up through firewall and installed it's gromet
added pedal pads and polished old pad trims to match the new ones
installed clutch rod boot
unpacked new glass and window track kit
looked into what needed to be modified and what didn't
made a list of materials needed
-
finished creating horizontal cross bar for glass
test fitted bar and dropped glass in place.
Hooked up cross bar and tested window movement.
partially removed driver's inner fender
ran front ebrake cable through floor and hooked up to pedal
mocked up cable routing
reinstalled bolts for inner fender
mocked up front cable mount
drilled and nutcerted cross member for E-brake mount
cut cable
installed mount
hooked up cable
adjusted E-brake cable
-
marked steel bar where cutting was needed and deburred
cut custom glass insulators
cut old window mounted brackets
made new ones to mimick original style for a 69 Chevelle
welded sliding bracket together
welded rear fixed bracket together
installed cross track
snugged all ends
test slid into passenger door track with great success
started modifying other parts of window tracks to create the horizontal cross bar
-
prepped body for windshield install
prepped windshield for install
installed windshield with not great success
removed glass and cleaned body up of excess urethane
removed urethane from glass to prep for second attempt at install the nfollowing day
-
cleaned windshield of all primer
reprepped glass for another install
installed windshield with success
installed windshield trim clips and trim
organized gauge wiring and repositioned speedometer cable
dropped steering column for gauge panel install
hooked up speedo cable to speedometer
hooked up wiring to gauges
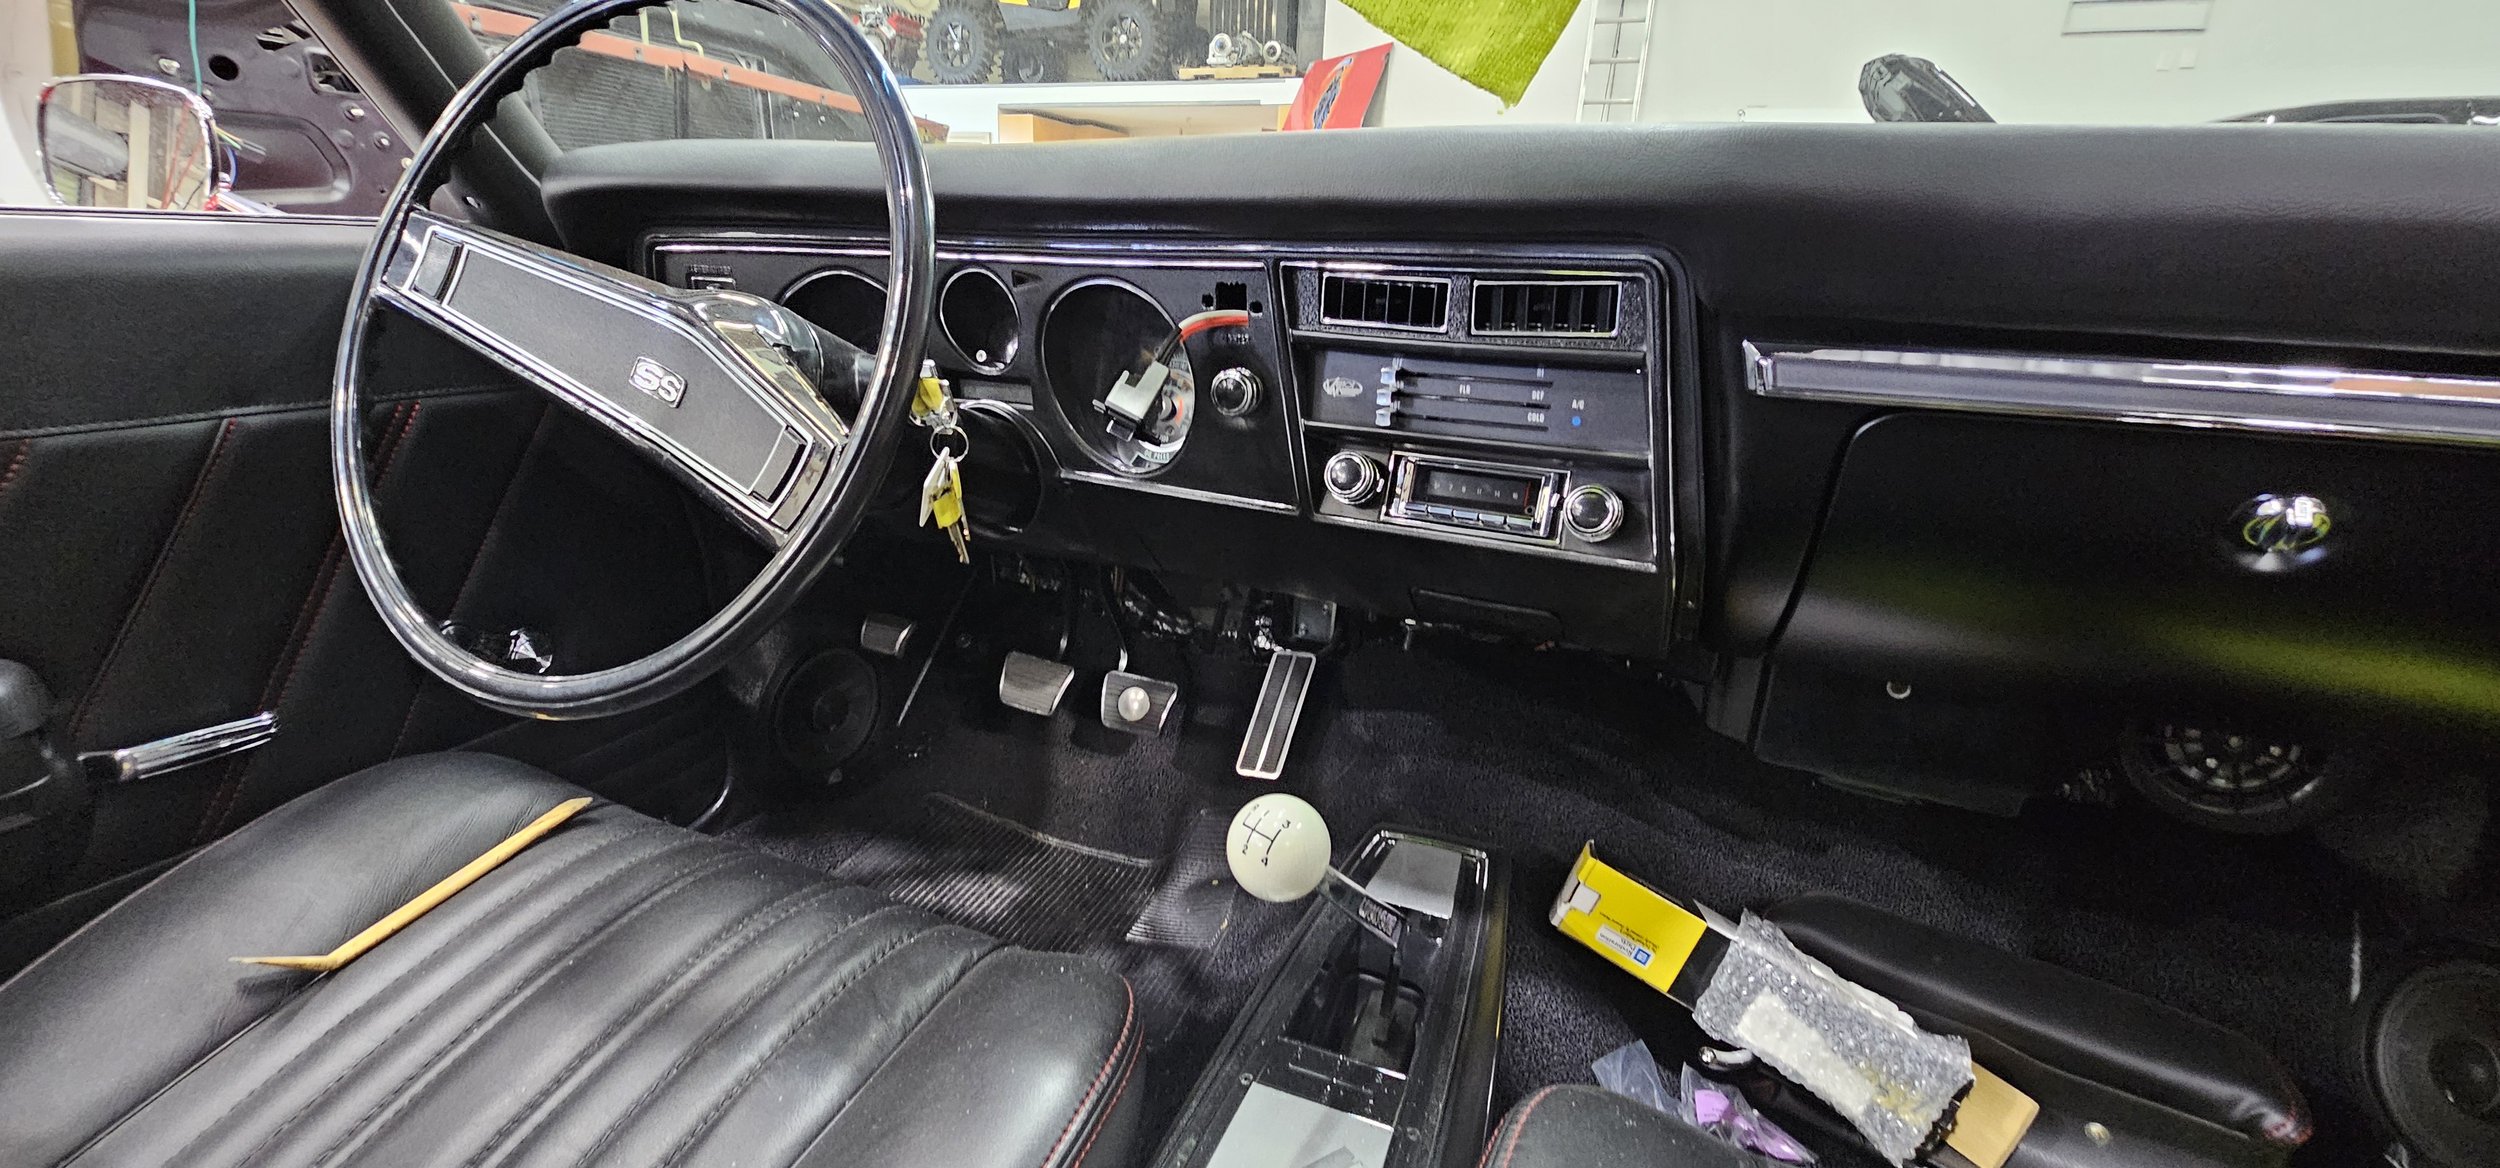
installed gauge panel
remounted steering column
instaled under-column panel
found ideal location for console mounting
melted holes in carpet for cleaner install
drilled mounting holes
mounted center console and reinstalled top metal panel
-
Test ran the car with the key
found that carburetor electric choke was sticking
removed and disassembled choke
cleaned and lubricated choke
reinstalled and readjusted
test ran again
tested cutouts and found they didn't work
investigated cutout issue
resoldered a wire into its control board
unpacked radio and started installation
-
wired in radio
mounted radio
tested for radio power
revised some wiring for radio
tested cutouts again: found that there was insufficient power
ran power wire to fuze block (switched so key needs to be on)
tested cutouts and ran car
-
unpacked Convertable top rams and hydraulic pump
installed rams
installed pump in its place
double checked proper plumbing for hydraulic lines
installed lines
found electrical connector for pump
hooked up rear connector
ran wire extensions for Convertable top switch
-
found connectors for top switch and hooked up top switch
hooked up battery charger to make sure battery didn't die during top operation for bleeding
filled pump reservoir and ran system multiple times
tightened some adjuster bolts for Convertable top and retested
lubricated all top joints
-
installed blinker lever and tested blinkers for functionality
unboxed drivers side window tracks
drilled out spot welds on tracks
prepped larger track to be welded together
welded larger track together
staightened larger track and cut to length
mounted horizontal shaft to glass to ensure proper fit
-
cut steel to weld front sliding track to mount to glass
welded small sliding track and bolts to steel
made glass insulators
mounted front track to glass
cut rear track wheel off of kit
cut piece of steel to weld to it as a spacer/mount
drilled hole and welded bolt inside
welded wheel to mount
mounted rear wheel to glass
installed horizontal bar to power window track in door
adjusted rear vertical track
slid driver's door glass in place
mounted horizontal track to glass
tested functionality
removed old broken Convertable top tension springs and cables
installed new ones
adjusted rear side of Convertable top to get the arms straight to be able to adjust door glass on both sides
-
installed washer bottle and bracket
adjusted washer bottle lip to fit cap better
adjusted and installed battery hold down for Optima style battery
installed shifter ball
installed drivers side astro vent in dash
brought over passenger side door panel and test fitted
cut hole for inside door latch
found ideal location for door panel armrest to utilize original holes
located ideal spot for window switch
cut hole for window switch
mounted window switch
installed clips in door panel
measured for even screw hole locations for bottom of door
installed arm rest and all handles
installed licence plate light
-DRIVERS DOOR PANEL ↓
found ideal location for door panel armrest to utilize original holes
located ideal spot for window switch
cut hole for window switch
mounted window switch
installed clips in door panel
-
measured for even screw hole locations for the bottom of the door
installed armrest and all handles on the driver door
installed wiper arms with some modifications on the driver's side arm
adjusted the driver's side wiper arm
tested for functionality
cleared out the trunk and organized what parts were left to install that are here
hooked up rearward console courtesy light
tested door locks and found the switch was backward.
unpinned 4 wires on each side and pinned them in the proper order for correct functionality
-
installed rear glass with minor modification
preadjusted rear glass
encountered and found wiring issue with relay box causing a dead leg headed to the fuze block preventing some things in car to not have power
installed front right astro vent
started making center dash vent
-
Finished trimming center A/C vent
Glued a/c vent together
adjusted mount locations to clearance for screws
installed center A/C vent
-
installed hood louvers after some massaging of hood and louvers on passenger side
installed new ididit box
installed glovebox and lock
removed passenger side door panel and installed the respective outer window felt
-
adjusted passenger side door window to finished top
fixed a broken roller on front of window and replaced with more appropriate length one after modifications
new ididit ignition relay box blew a fuse internally
tacked wires and found that too many accessories was wired to the same leg on the relay box so the power windows are now on its own separate relay leg
added some major modifications to passenger rear window track to match up to the finished top and finally got it adjusted properly
wired in switches to rear windows nicely in center console so rear windows can be operated without getting out or moving as requested
modified and adjusted drivers side rear window tracks to close nicely to the finished top
marked proper locations for rear seat hold down brackets and are ready to be bonded
reinstalled door panel on passenger side door after that door is finished
hooked up center vents to A/C box
-
cleaned good trim and rear top trim
installed hood trim
trimmed holes, painted washers, and tightened bolts to inner fenders
adjusted drivers rear window
adjusted drivers door window
bonded rear seat brackets to floor
-
installed all remaining window felts
finished adjusting passenger side windows
Installed rear door panel
removed back of seat to install the rest of side panel that covers the convertible top
finish adjusted drivers side windows
Installed drivers side panels
installed rear seat and both window crank handles
found any remaining required or missing parts
installed front shocks
installed passenger front seat
fixed hood safety latch
installed new trunk weatherstrip
installed trunk floor plugs
installed windshield pillar weatherstripping
finished a multitude of other small things and adjustments that needed to be done
found that engine was incredibly out of tune. Removed vacuum advance, adjusted timing, adjusted idle mixture significantly, adjusted timing again, adjusted idle speed, reattached vacuum advance
-
checked transmission fluid level
adjusted alignment for test drive
test drove
adjusted idle mixture with vacuum gauge reference
checked plugs for color
test drove again
prepped header trim panels for fiberglass molding
installed visor brackets
installed rear view mirror
installed horns to front of car
restored steering wheel center cap and horn buttons
tested horn buttons on both sides
improved horn ground
made fiberglass header panel molds
trimmed molds to be read to make new panels
attached fabric convertible top "basket" to rear seat
swapped convertible top outer rear trim to a new set
adjusted clutch pedal throw
-
removed windshield trim and convertible top clamp plates
installed factory style vinyl sheet to header in prep for header panels
reinstalled windshield trim
used header panel molds to make new panels
fixed any defects from the molding process
bodied new header panels and are ready for primer, paint, then install.
-
made new windshield washer squirters to mimic factory style and installed
ran new washer pump lines
filled washer bottle, primed, and tested
-
fabricated new rear convertible frame covers
test drove at cruising speed and found that new driveshaft was bent and sent it over for it to get fixed via warrantee
installed finished fiberglass header panels
installed and adjusted visors after minor modifications
made remaining trunk floor plugs and installed
fixed lower plastic pieces on driver's seat so they tuck up where they need to be from the factory
-
installed trunk light
recieved new driveshaft and test drove
found that it still had a rough vibration at 50+mph
pulled driveshaft and inspected suspected unreplaced tailshaft bushing. Ordered new bushing and seal
-
removed exhaust, trans crossmember, shifter linkage, shifter, reverse light switch, speedo cable, and tailshaft from transmission
removed old tailshaft bushing
installed new tailshaft bushing and seal with flange sealer to minimize possibility of leaking
reinstalled tailshaft housing, exhaust, trans crossmember, shifter linkage, shifter, reverse light switch, speedo cable
test drove and driveshaft vibration is severely improved but vibrations are still coming from transmission
removed exhaust, trans crossmember, shifter linkage, shifter, reverse light switch, speedo cable, and transmission
disassembled transmission and found out that the input shaft bearings (outer and inner) wore down or not rolling smoothly as it should.
found proper replacement bearings
-
reassembled transmission with new bearings and resealed shifter fork cover, input shaft bearing retainer,midplate, and tailshaft
installed transmission back into car after cleaning the excess grease off of the throw out bearing
remounted crossmember, trans mount, shifter linkage, and reverse light switch
-
reinstalled exhaust system to headers
hooked up exhaust cutout wiring
added fresh gear oil to transmission
reinstalled driveshaft
hooked up speedo cable
adjusted clutch (further adjustment may be needed during test drive
Mechanical Labor
with Brian
-
Sandblasted flash rust on 2 wheels, sanded lips of 2 wheels with 180, wax & grease removed.
with Dylan
-
Ran power and ground cable for amp
Ran chassis ground
Started fabrication of subwoofer box
-
Mounted all 4 tires with Andrew by hand
with Bucky
-
Balanced all 4 wheels and tires
Began to wash the protective coating off the white letters with warm soapy water
Tyler ended up using his spray-on solution to whiten the letters
Paint & Body
with Jio
-
sanded glove box
masked glove box
set up glove box
mixed primer
sprayed primed on the glove box
-
blew off and wiped down with a dry rag to remove dust
wiped down the car with water
masked tail lights, Matt black trim and rear bumper
masked trunk jamb
masked both door jambs
masked hood jamb
masked hood louvers
masked head lights, grille, and front bumper
masked 4 marker lights
masked both door handels and lock cylinders
masked belt molding
masked and wrapped convertible top to protect from compound
-
buffed the vehicle twice with step one on the wool pad to get out a majority of the defects
went around and marked what needs to be addressed more aggressively with sanding
-
sanded a few spots with 800 grit to remove imperfections
sanded the 800 grit with 1200grit
sanded the 1200 with 2000 grit
buzzed the 2000 with 3000grit tract
buffed the 3000 with step one on a wool pad
bigger the right quarter panel, door, fender and half the hood with step one on The foam pad
-
Window Track Kit
1968-72 Windshield Molding Clips KMC-68KITA
1964-72 Chevelle Brake Pad IHQ-0191
1964-72 Clutch Pedal Pad IHQ0191
1968-72 Firewall Rod Boot SS-5053
1964-77 Chevelle Door Striker BPX-1299
1964-77 Chevelle Parking Brake Connector Cables EC-8001U
Transmission Driveshaft Yoke 80292425
License Plate Bracket AMD-W-309
Convertible Top Cylinder Cables AUP-CCT1011
Spicer U-Joint SDH-5-153X
Air Cleaner SUM-239433B
White Shifter Ball FZ-1420
Turn Signal Lever IT-5174
1969 Chevelle Convertible Top Switch Bezel MTB-17
1968 -72 Vinyl Header Molding HEADERM10
1968-72 Convertible Header Seal JSS-091
Window Track Kit
1968-1972 Chevelle Convertible Top Weatherstrip Kit JSS-5093
1968-1969 Chevelle Hood Louvers NL-100
1964-1969 Chevelle Windshield Washer Plastic Jar Mounting Bracket AWB-8939
1964-1977 Chevelle Windshield Washer Cap, Hose & Screen Kit APX-9738
1964-1972 Chevelle Stainless Steel Battery Tray Retainer ABR-9533-SS
1966-1972 Chevelle License Plate Lamp MEH-1576
1968-1972 Chevelle Rubber Stopper Kit JSK-82K
1968-1972 Chevelle Front Arm Rest Pad And Base Kit Black ARM-KIT4
1969-1972 Chevelle Bucket Seat Back Release Kit IFC-521K
1968-1970 Chevelle Tilt Steering Column Lever IT-5168
1968-1969 Chevelle Dash Vent Ball Retainer Bezel Right Side IDV-689R
1969 Chevelle Dash Vent Ball Retainer Bezel Left Side IDV-69L
1969 Chevelle Astro Ventilation Dash Emblem IK-0046
1969 Chevelle 2 Door Coupe Replacement Style Outer Window Felts Only CH243R
1968-1972 Chevelle Door Panel Adjustment Clip Rear IDP-14465
1967-1970 Chevelle Long Style Hazard Lamp Flasher Knob IFK-1
1969 Chevelle Door Jamb Vent JTE-5043
1964-1972 Chevelle Lower Rear Seat Retainer Kit IBX-99KR
1968-1972 Chevelle Cowl Vent Grilles With Air Conditioning N-4512
Chevelle Dash Center AC Vent Housing Assembly ICV-702
69 Chevelle conv quarter glass tracks/hardware CH28161-PR
Notes: https://www.opgi.com/window/glass/quarter-window-assembly/assembly-quarter-window-1968-69-chevelle-coupe-pair-ch28161-pr.html
FR ss 69 Chevelle wheel 15" WVI-50-5734438
Astro vent hose adapter 3" to 2.5" VTA-49870-VCI
70 to 69 Chevelle center air duct adapter VTA-62614VCE
Notes: One needed to make the 70 air duct splitter fit and work in the 69. Minimal modification is still required
69 Chevelle convertible header molding
CONVERTIBLE TOP SWITCH 69 CHEVELLE W-081
Notes: The old switch melted at the rocker end by spring internally causing the switch to not return. Presumably caused by bleeding the system
14" Air Filter
Pillar Post Seal
Door Jamb Seals
Trunk Seal
Floor Pan Drain Plug
OE Style Compete Horn Kit
1969 SS396 Grille Emblem
Front Shock
Horn Repair Kit
Spare Tire Anchoring Plate
Spare Tire Retainer


