Project: 1972
El Camino
Status: In-Progress
History
and Facts
Here are some facts about the 1972 Chevrolet El Camino:
Engine
The 1972 El Camino had several engine options, including a 250-6 with 110 horsepower, a 307 V8, a 350-cubic-inch V8 with 175 horsepower, and big block V8s with 402 and 454 cubic-inch displacements.
Horsepower measurements were based on "net" figures, which were taken with all accessories and emission controls installed.
Weight
The full-framed muscle car weighed over 3,600 pounds, but the front end was made 90 pounds lighter, giving it a 54/46 front-to-rear weight ratio.
Body
The 1972 El Camino was the last year for the Coke-bottle-shaped Chevelle body, which had been introduced four years earlier.
The El Camino was closely related to the Chevelle, and many parts from the windshield forward were interchangeable between the two cars.
Production
57,000 El Caminos were produced in 1972, and they were mostly used as work trucks.
Options and accessories
Some options and accessories for the 1972 El Camino included air conditioning, SS stripes, chrome wheels, stereo systems, tachometers, and bed liners.
ESC
1972 Chevrolet El Camino
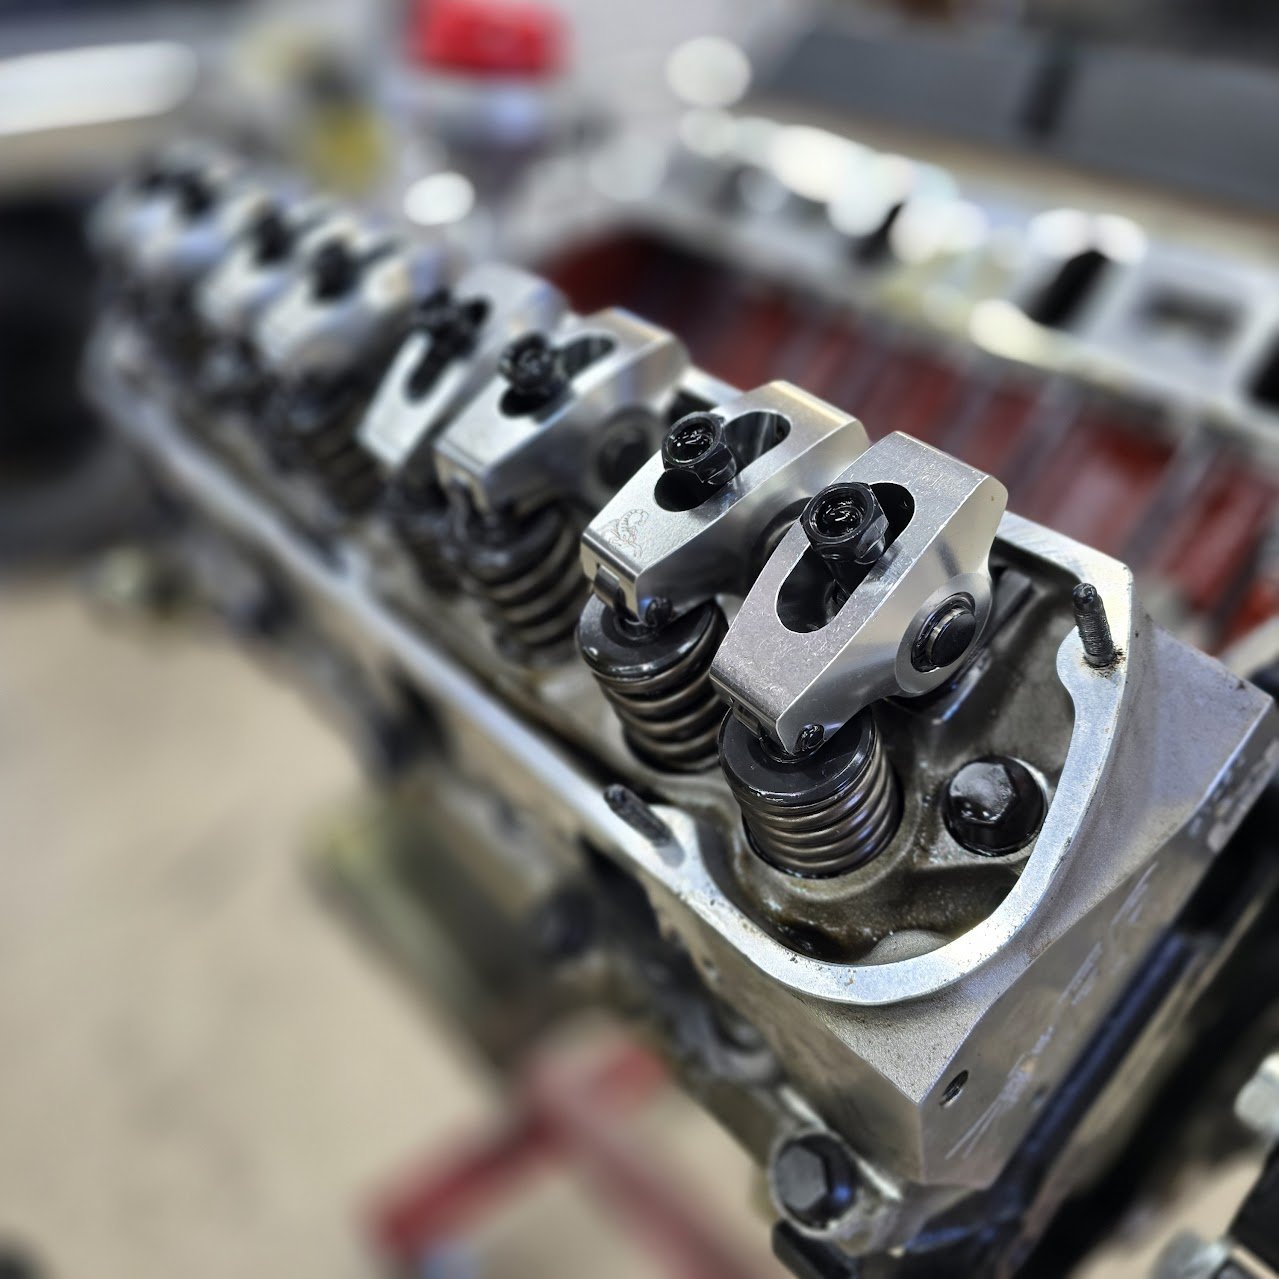
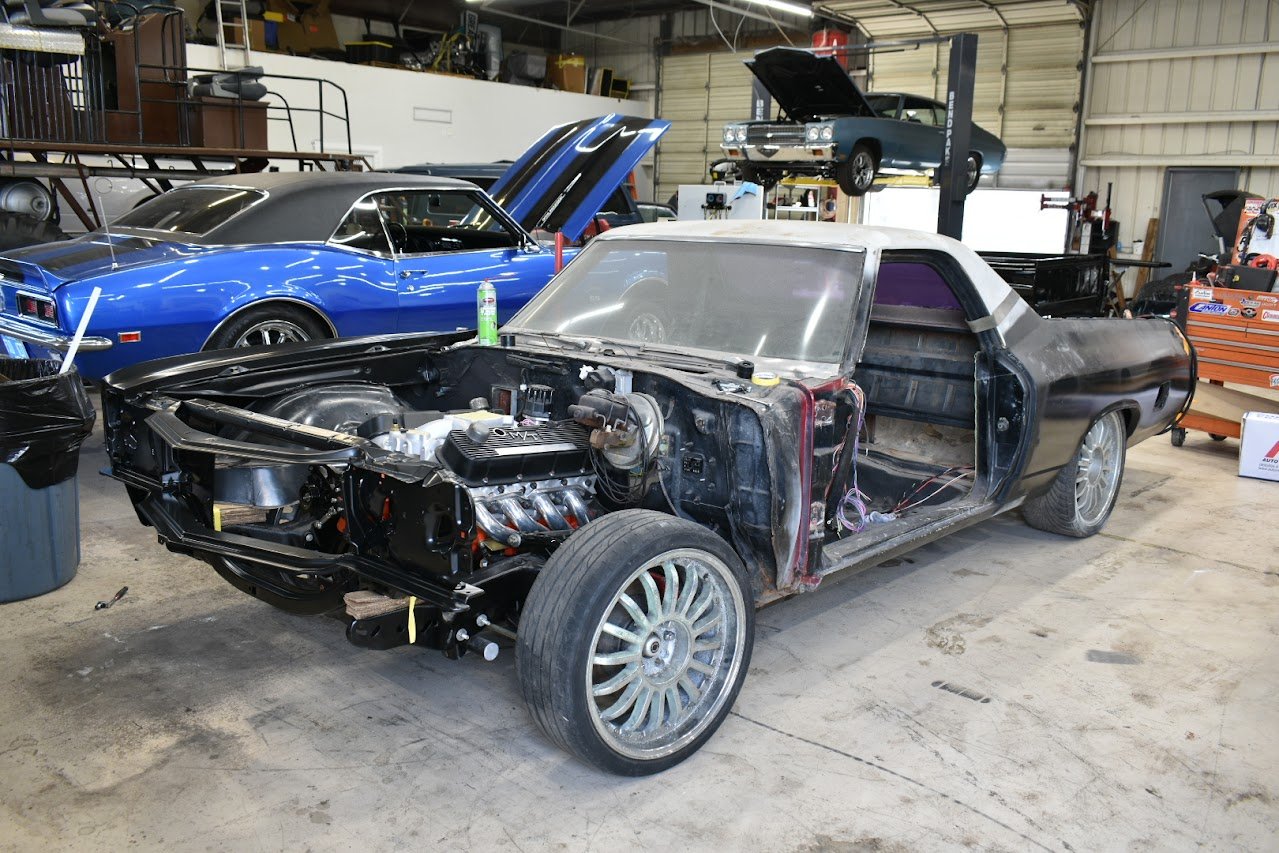
454 Big Block
Gear Star Performance 4L80
Hotchkis Suspension
American Autowire Classic Update Harness
Holley Performance Sniper 2 to be installed
Holley EFI Fuel Tank
Wilwood disc brakes
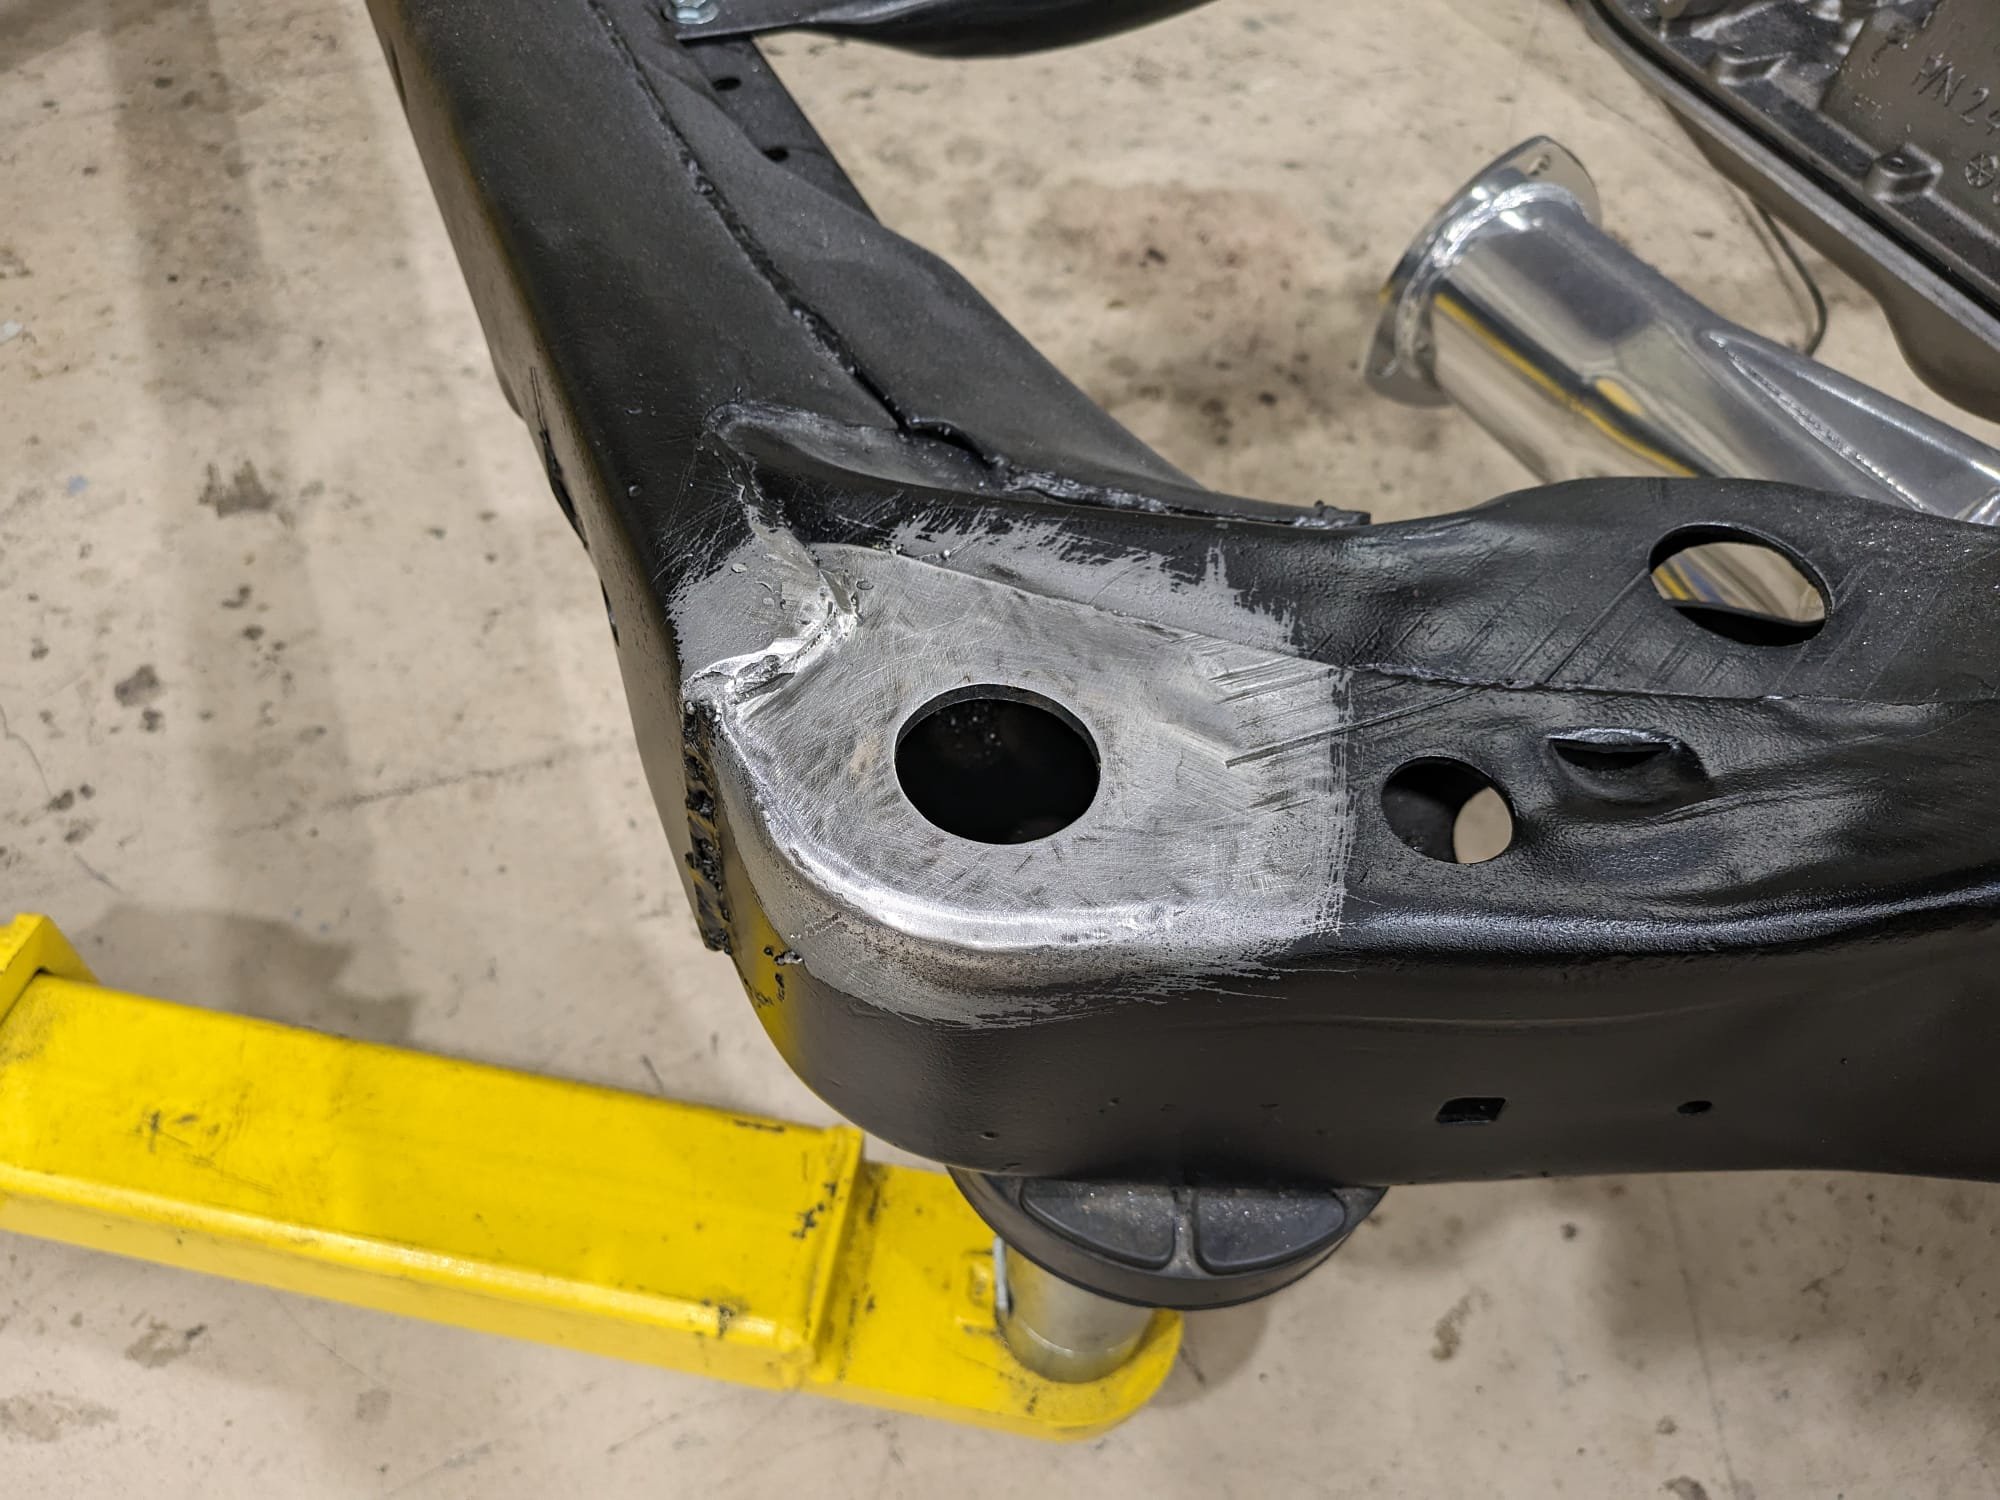
The chassis was repaired and repainted
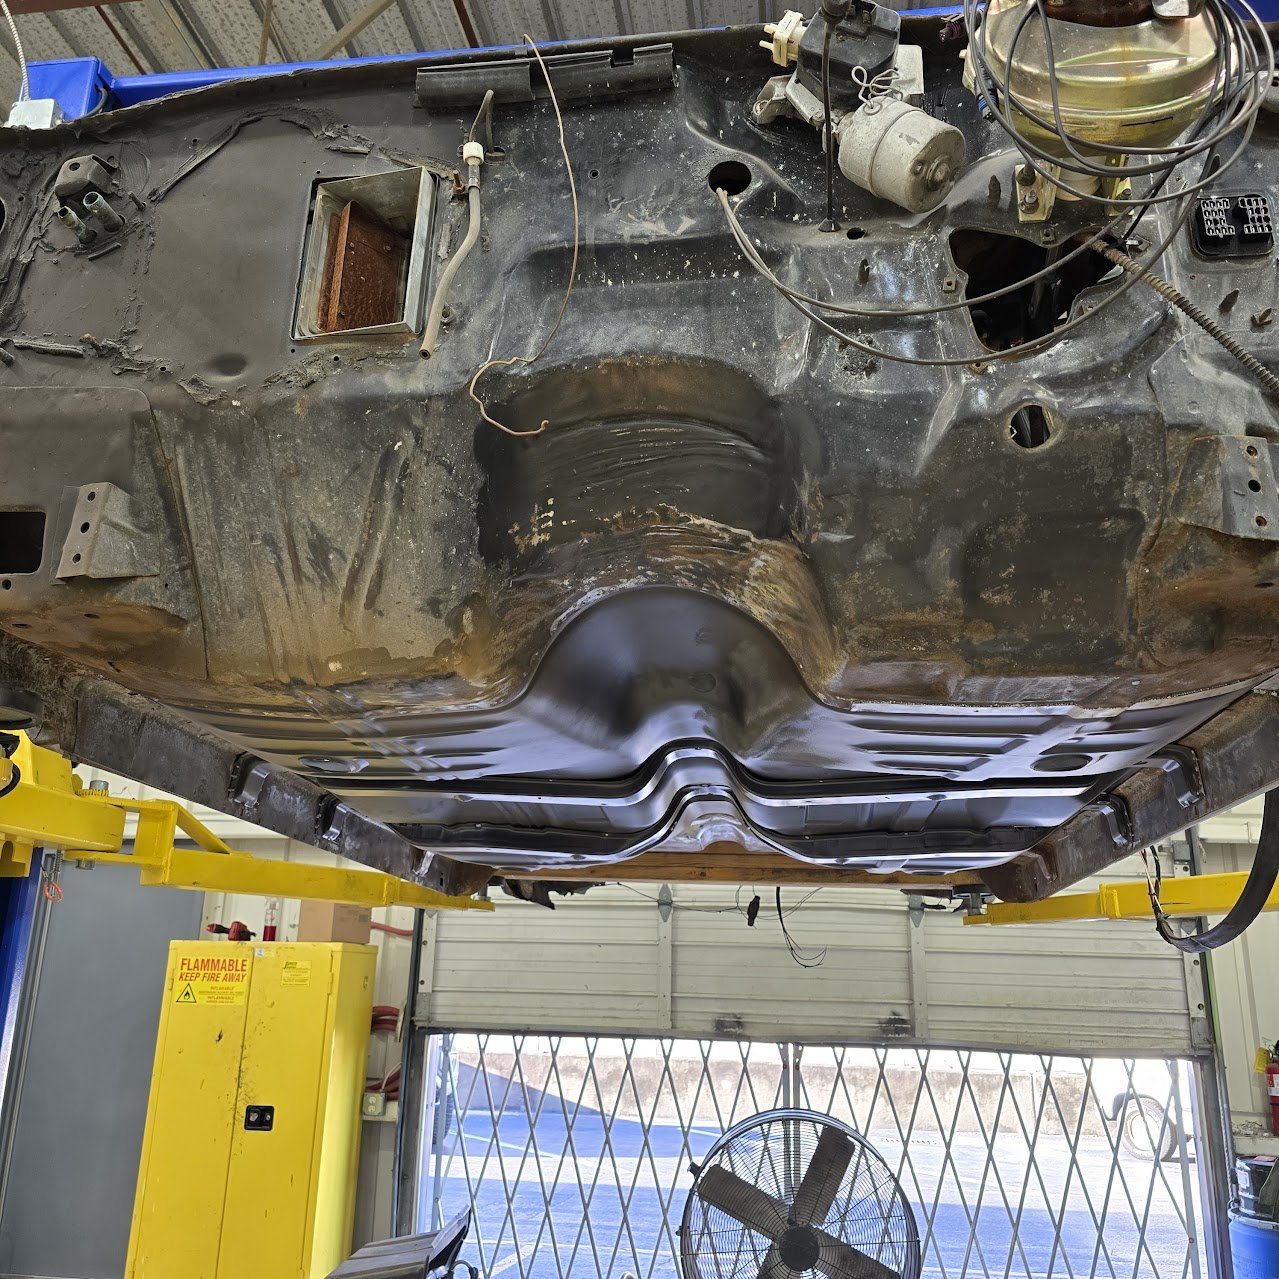
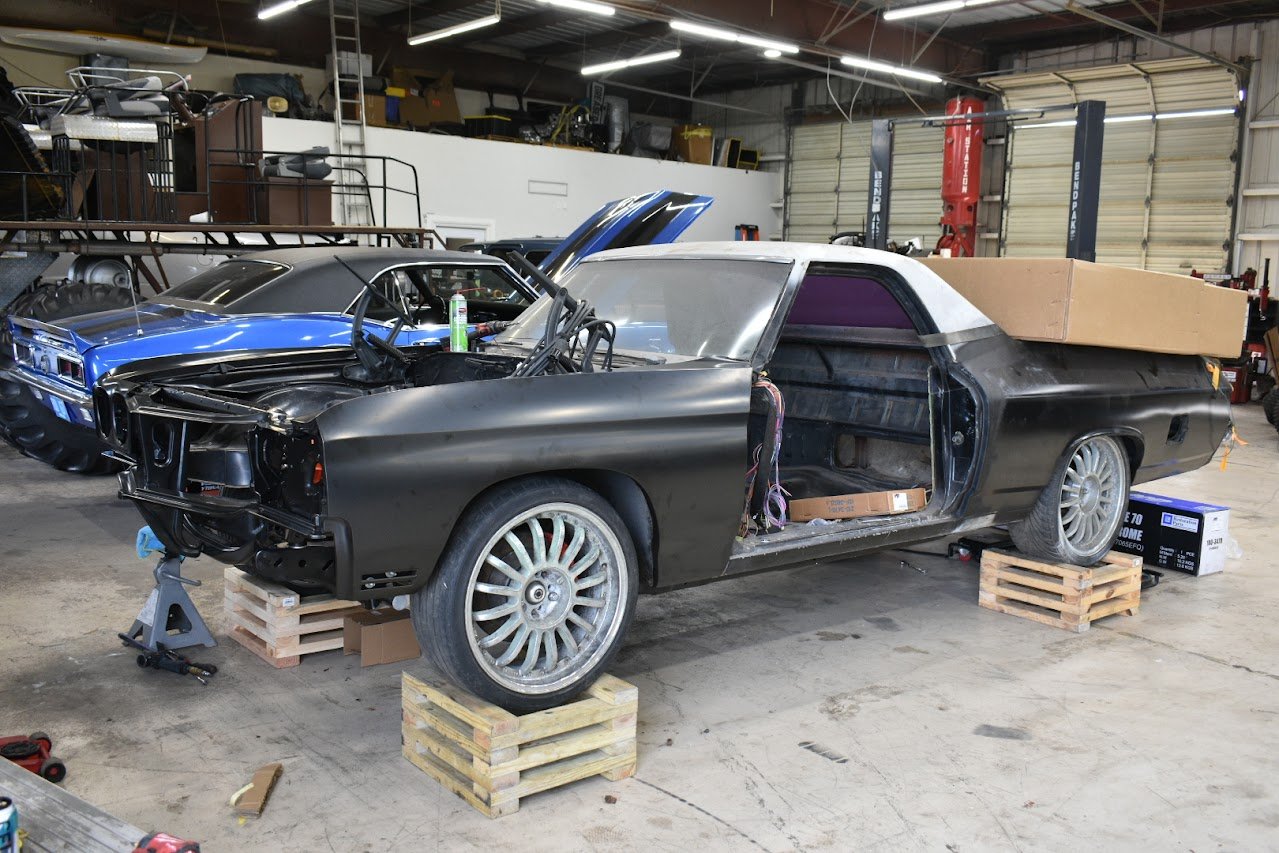
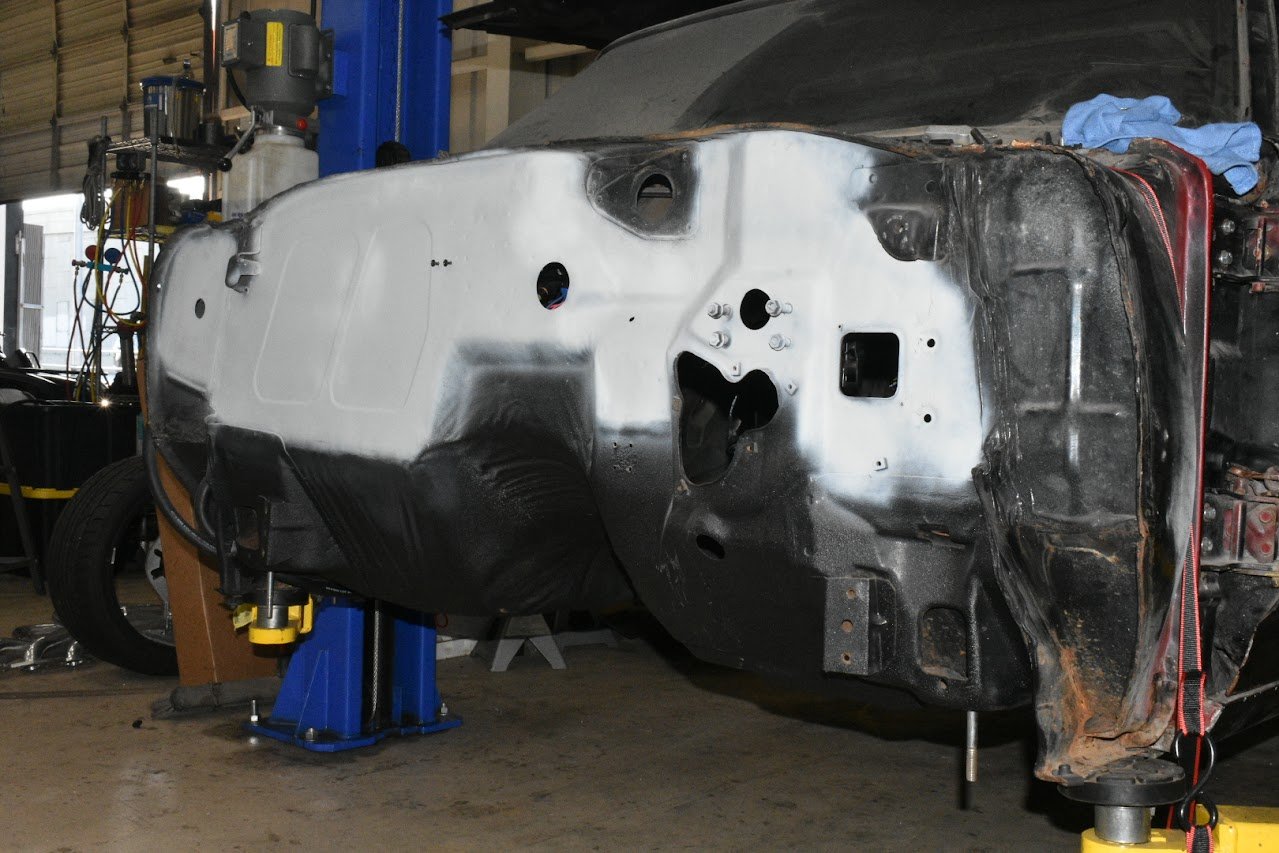
The entire floor pan was replaced
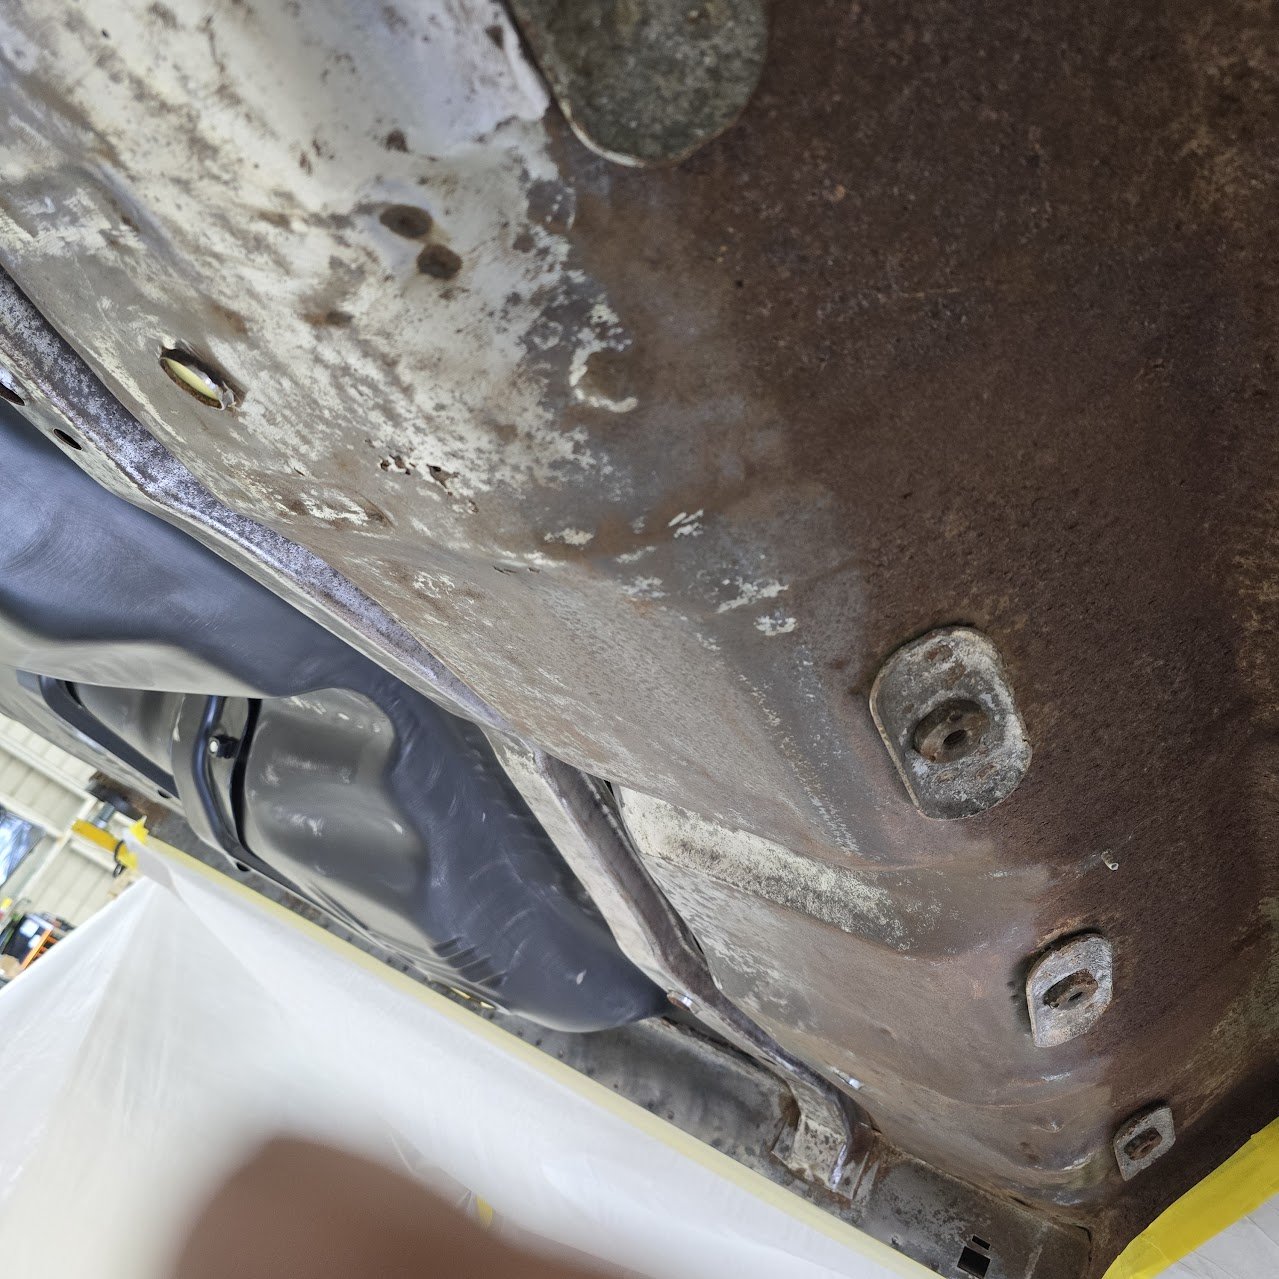
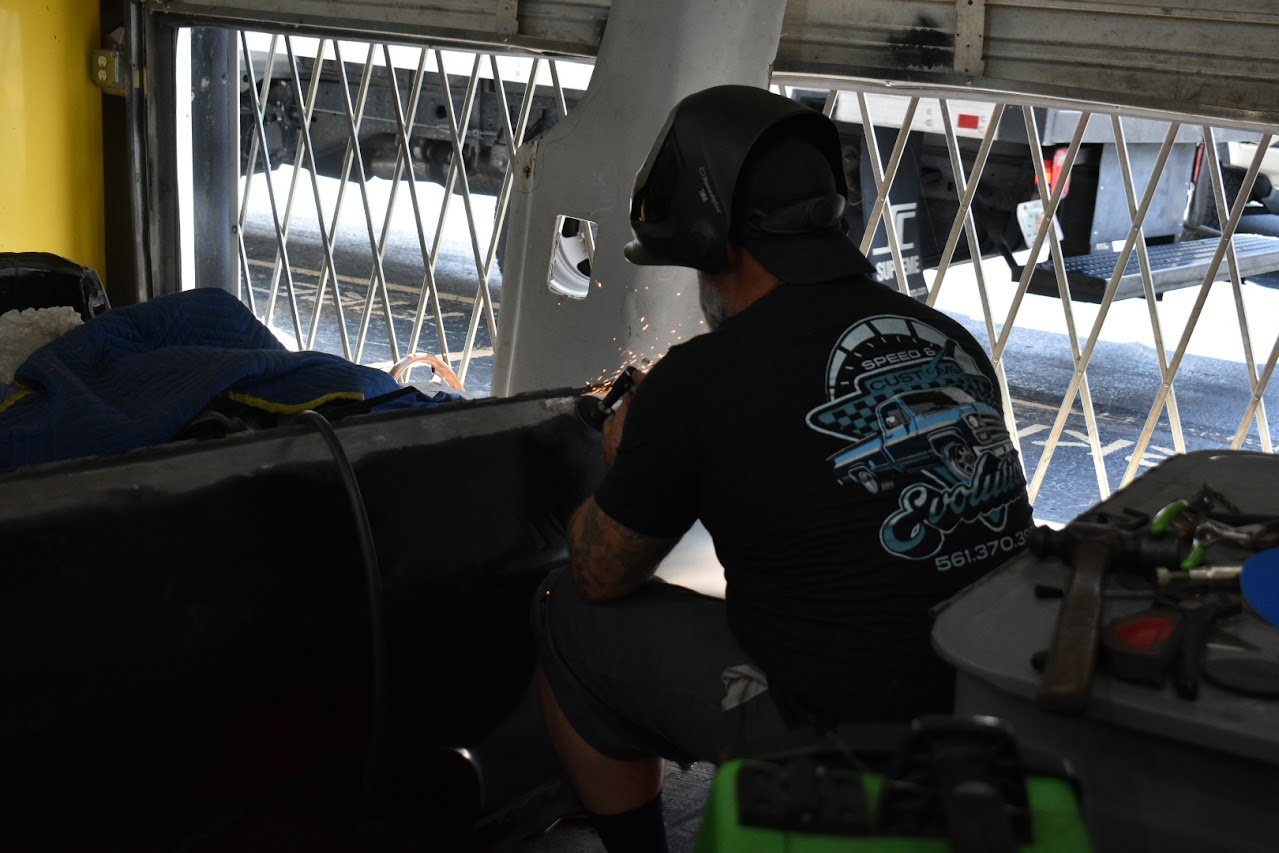
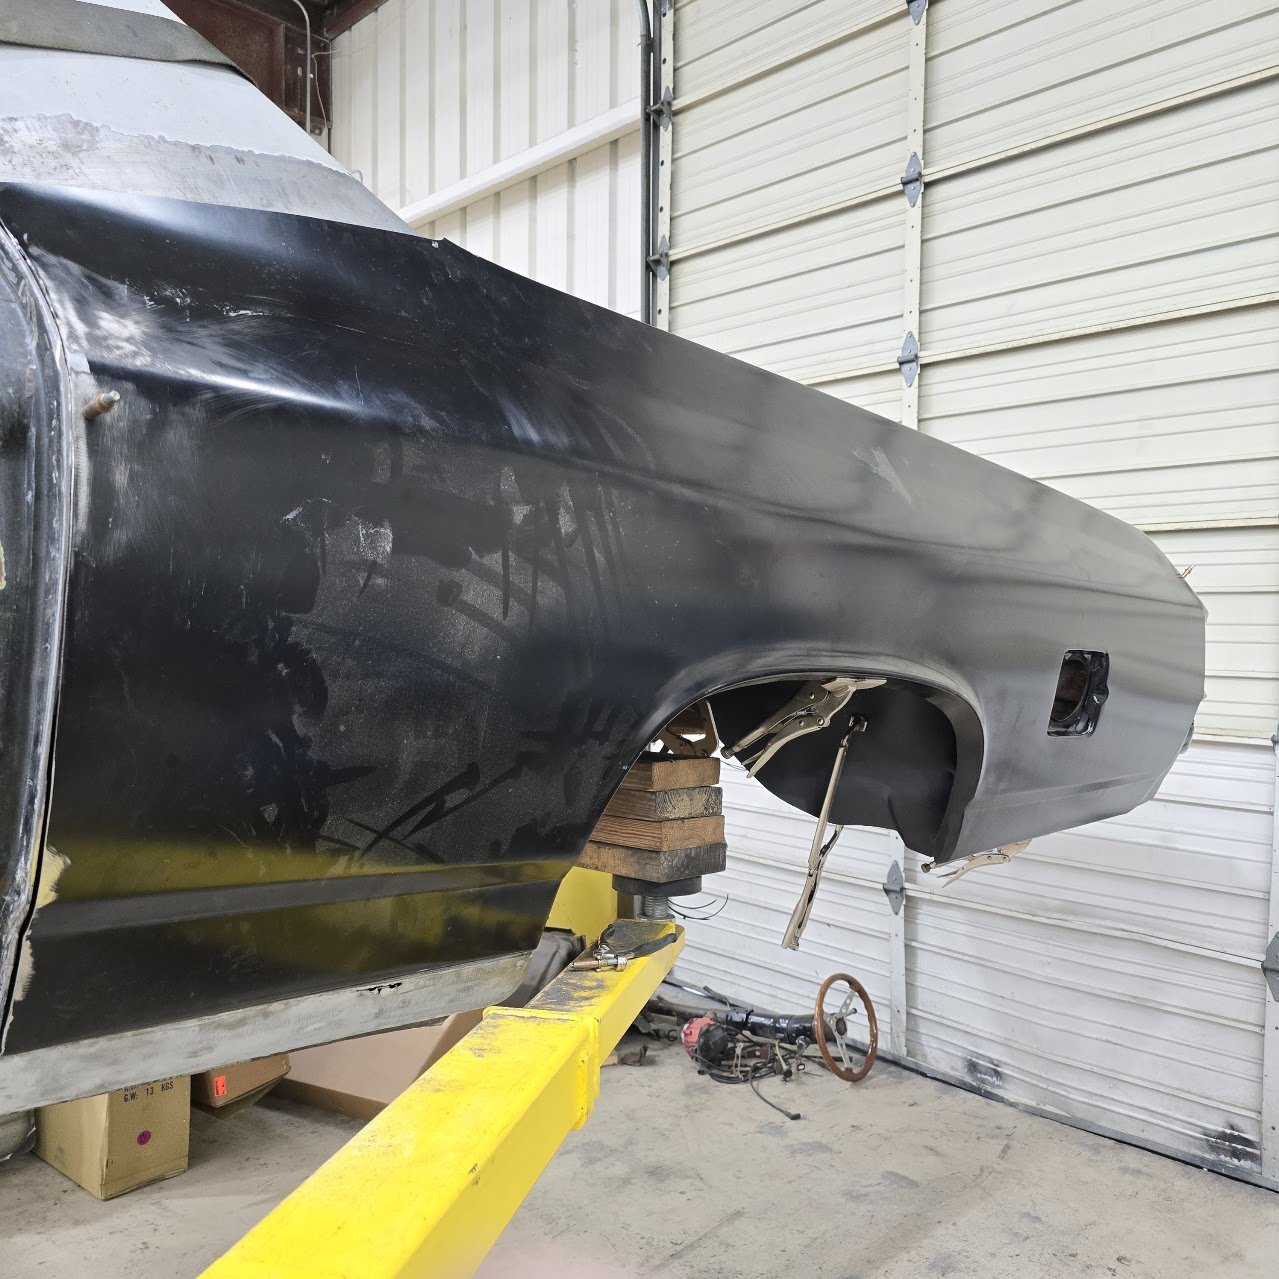
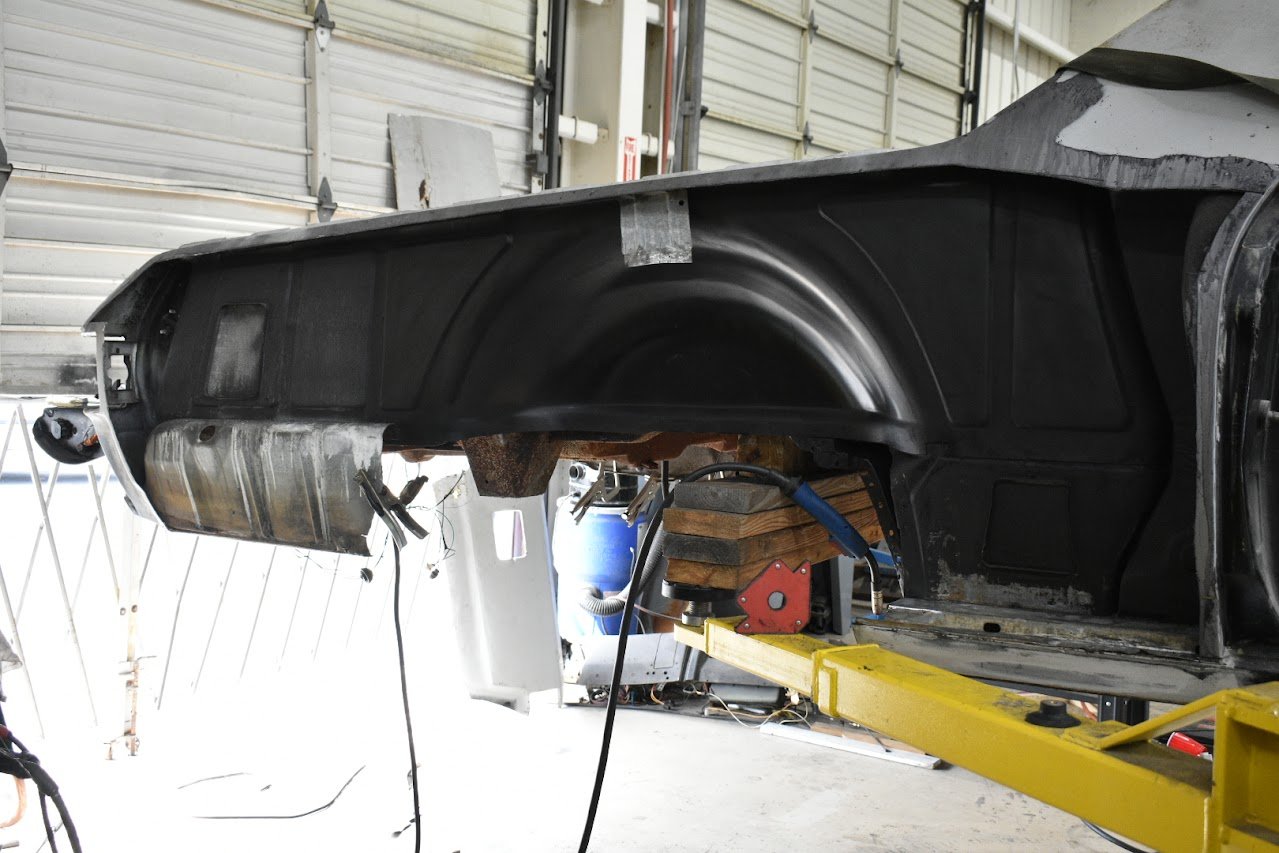
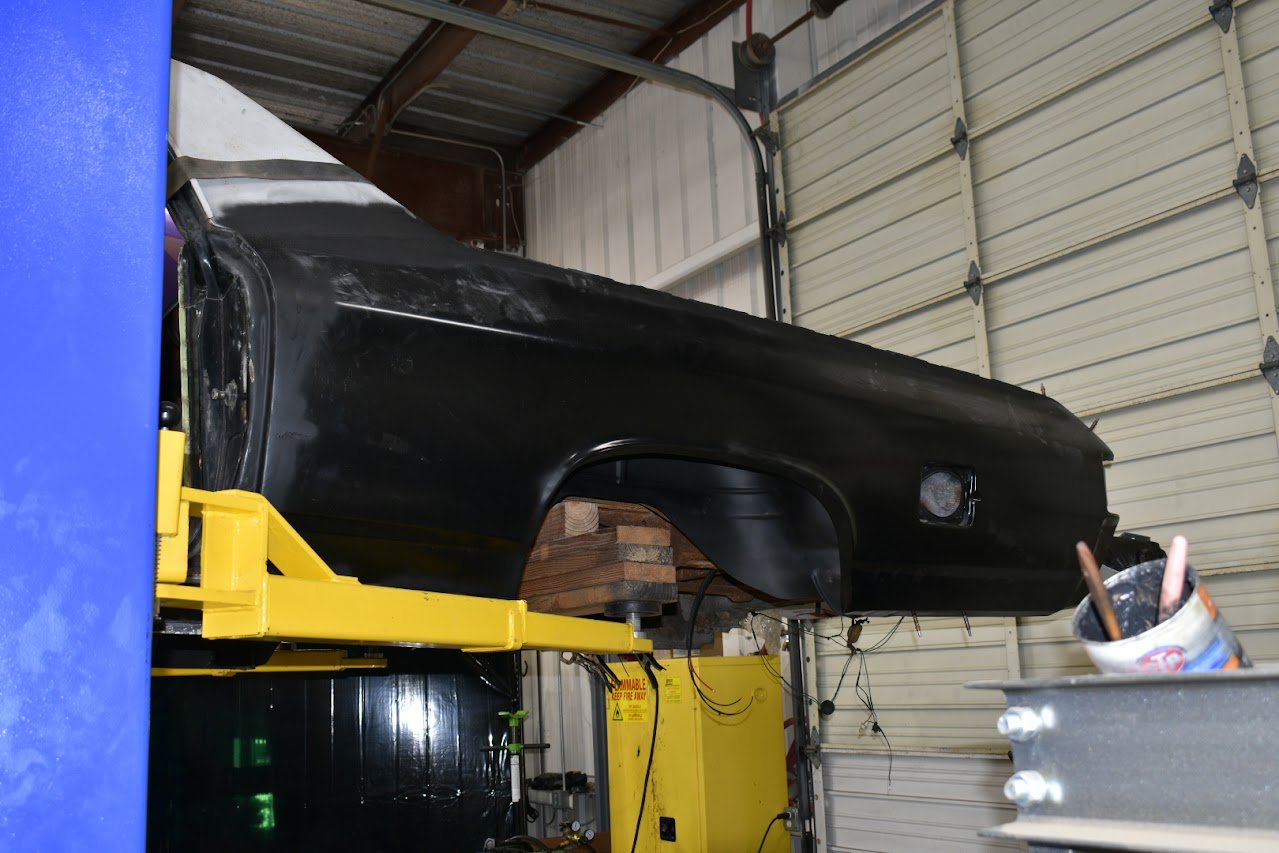
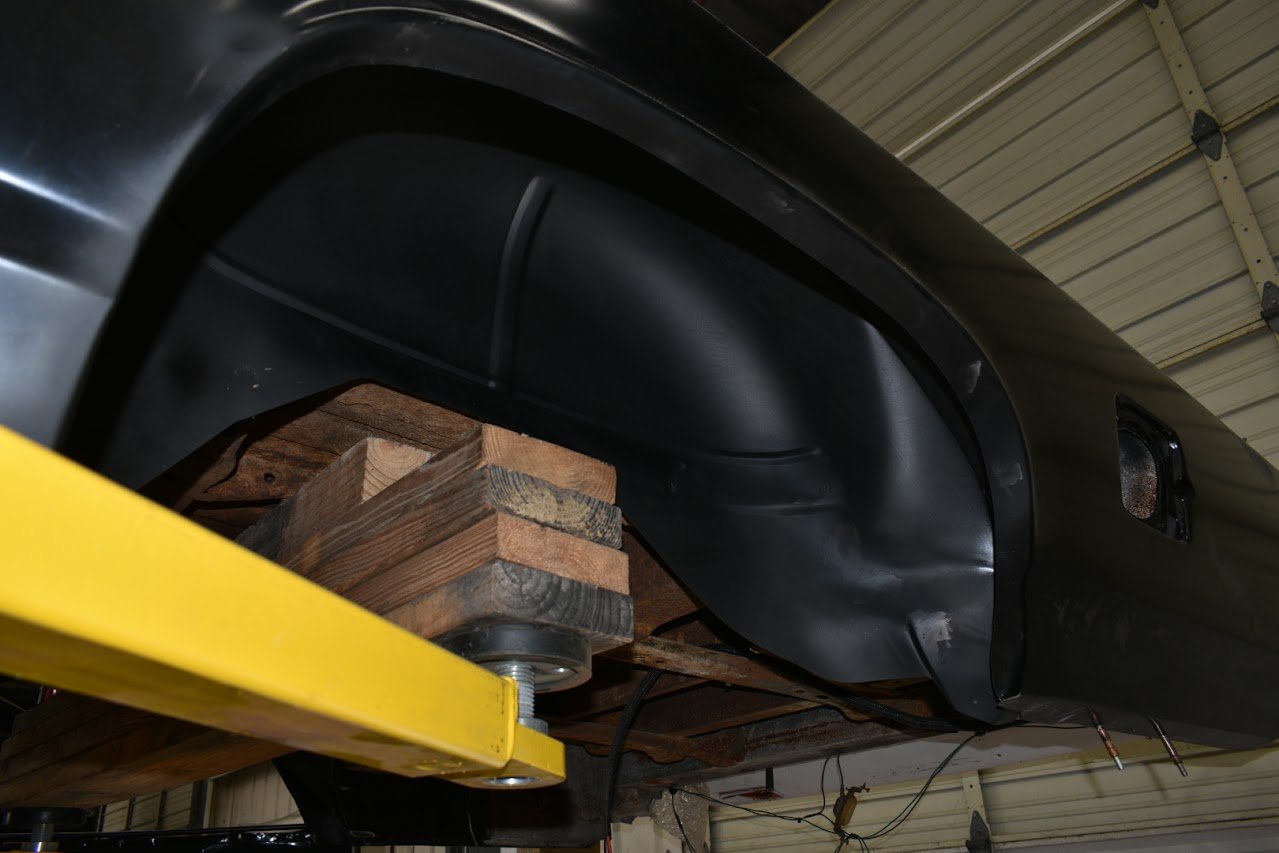
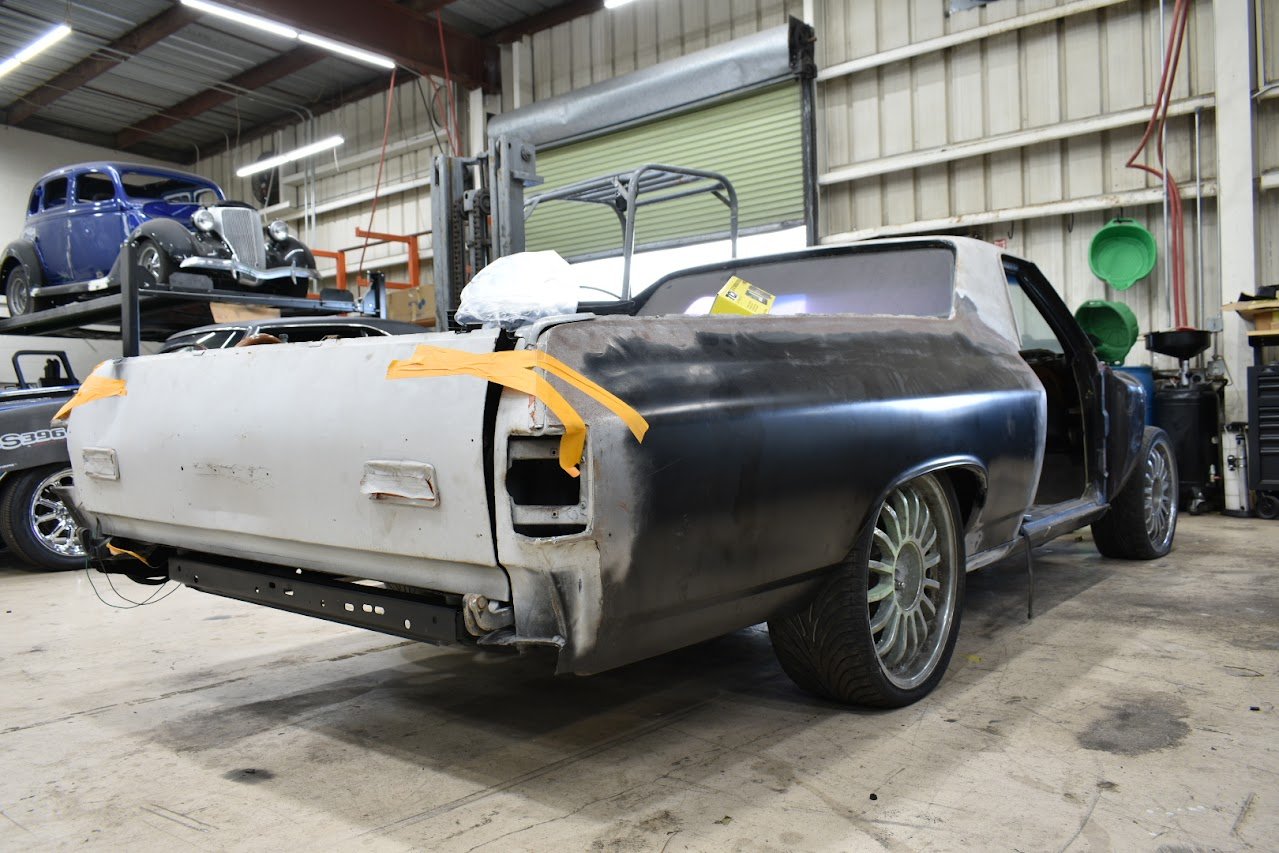
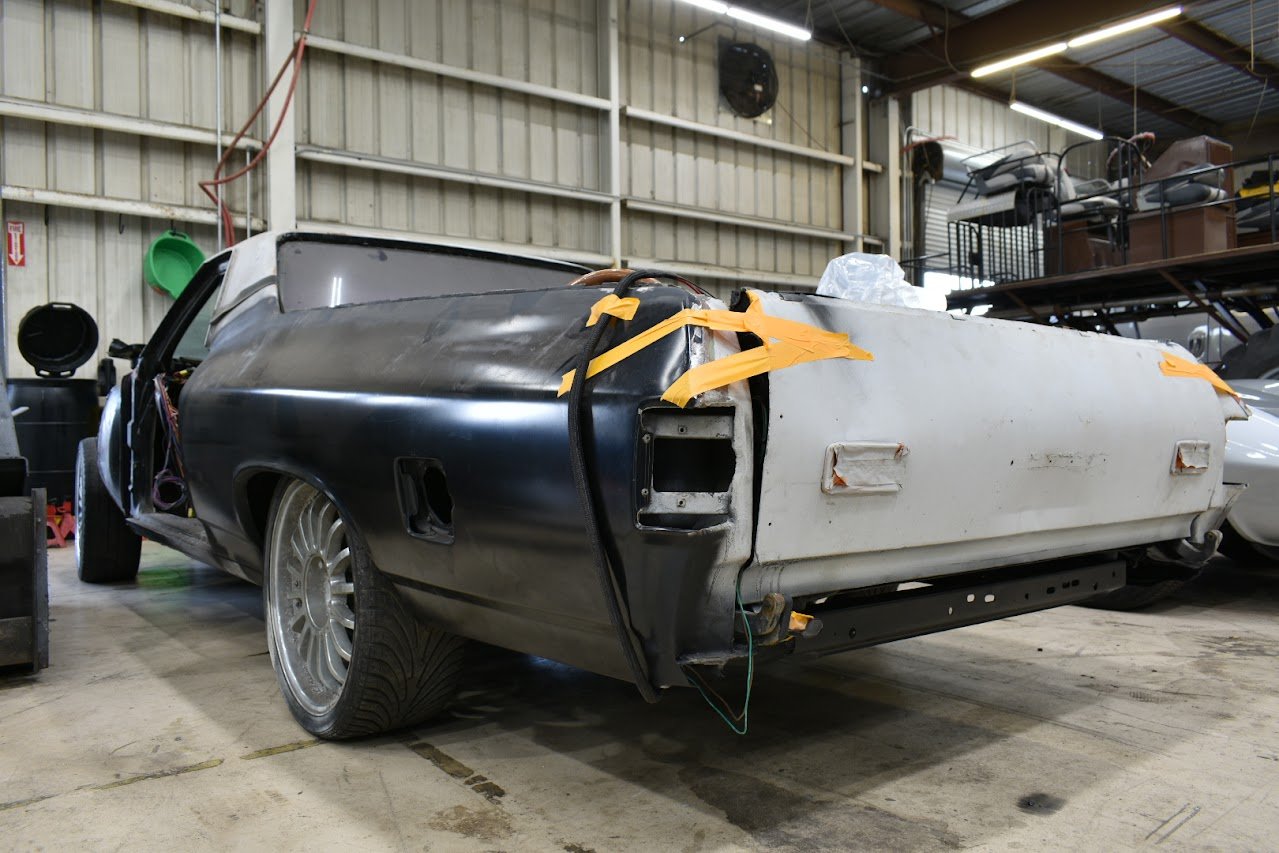
We are just getting started on cutting out and replacing the rotted wheel tubs, we are replacing the driver-side quarter panel and repairing the outer rockers.
We will stretch the wheel tubs as far as we can without getting into chassis modifications to fit the biggest tire possible.




















Fabrication
& Mechanical Labor
with Tyler
-
installed hubs back on spindles
reinstalled front calipers
reinstalled steering rack
organized new body mounts and placed them onto the frame in prep for the body to be dropped on
-
Instructed Barnes with wiring, while getting the new Wiring harness mocked up
Waiting for body to be mated to frame to continue wiring
-
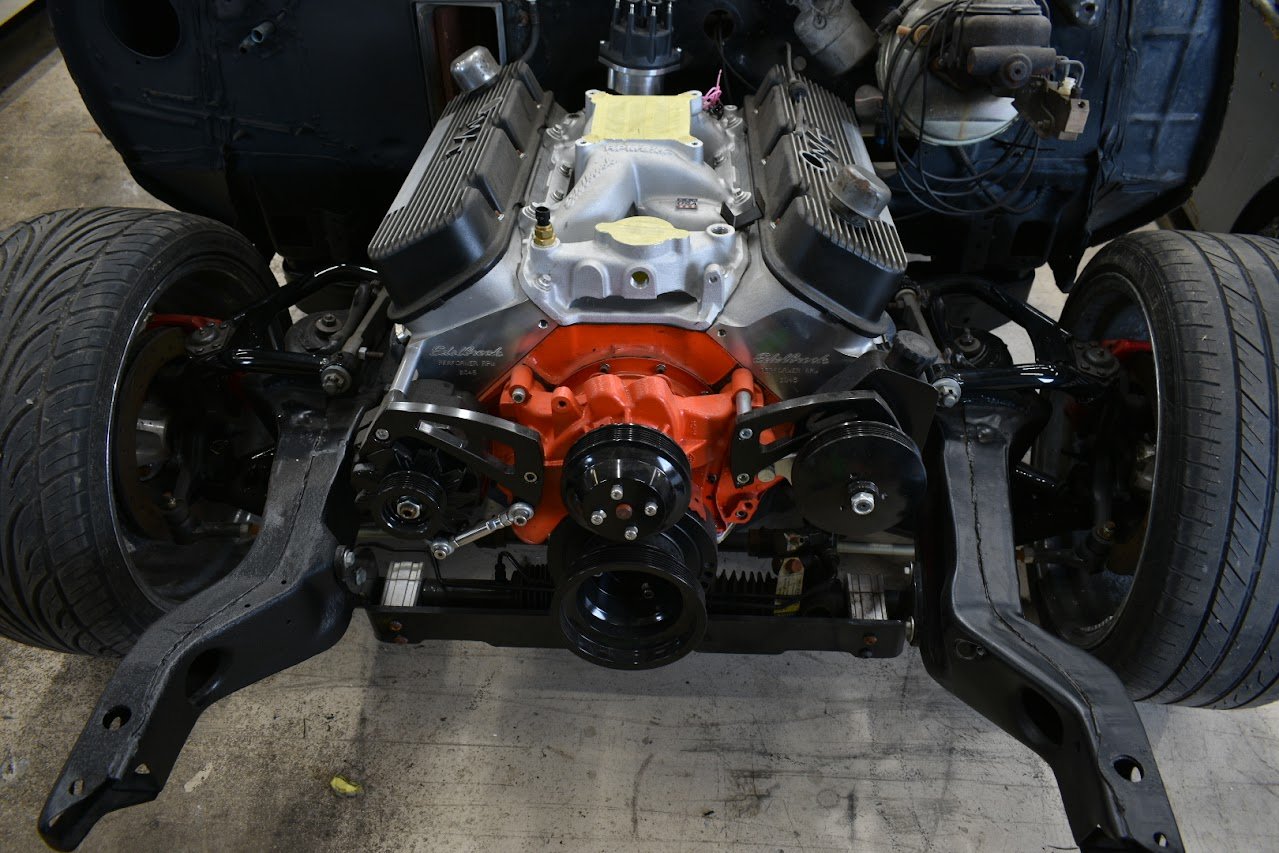
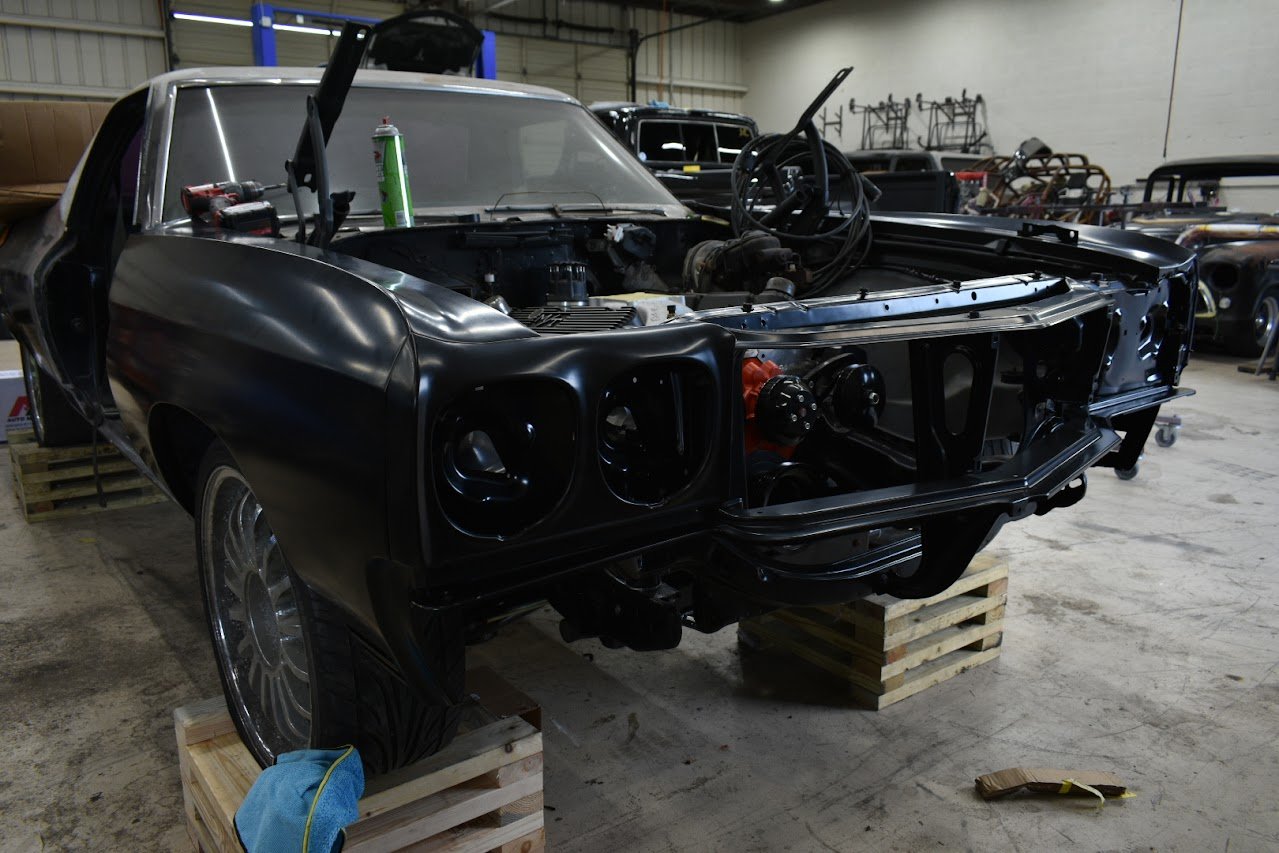
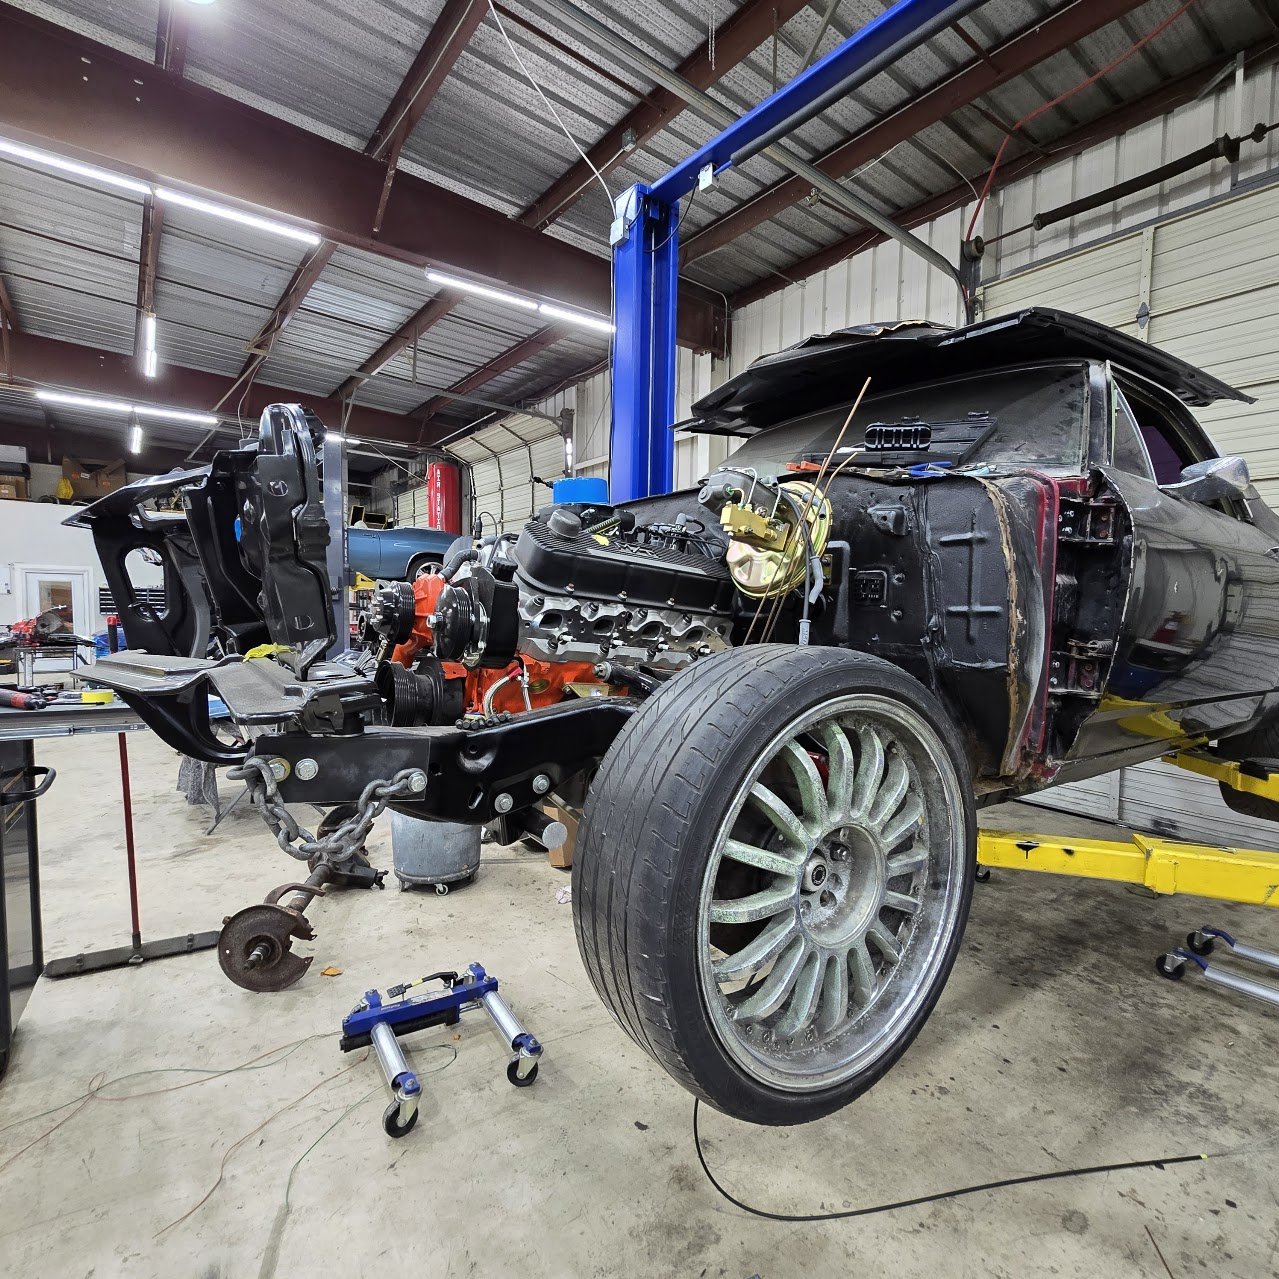
Disassembled and refurbished engine. Parts, paint, accessories
Repainted block
Installed Engine mounts on frame
Mounted Engine to the frame
Made alterations to Trans crossmember in order for the transmission to sit properly
Painted crossmember
Placed Trans on trans mount
-
removed a large portion of old floor
trimmed away corners of old floor down to pinch weld
removed old floor supports
cut away small portion of rusted floor by drivers feet that wasn't able to be welded to and replaced
removed storage bucket and found more rust
replaced upper portion around storage bucket
mocked in new floor
welded in new floor supports
-
cut out passenger side wheel well with airsaw, cutoff wheel, drill, and weld breaker and started on driver's side
finished removing driver side wheel well
skinned drivers side of bed to prep for new panel
removed pinchwelded sections behind the rear tire and above the driver's side rocker panel
started adjusting and mocking new panel
Mechanical Labor
Bucky
Brian
-
Took the dashboard out and made labels for each wire
removed harness
helped Tyler install new harness and trim to fit
-
Removed hubs from spindles
Removed front calipers and suspension
Dropped out the Brake lines
Removed upper and lower control arms (L+R)
-
Removed the body mount bolts
double checked the frame & body for anything that could snag during the separation process
Lifted Body from frame
Made note of body mounts. Quantity, size, and condition
Suggested new Body mounts and bushings to be ordered
-
sand blasted rusty components
painted components
-
Prep frame for powder coating
use a grinder to smoothe out rough welds and ensure uniformity and that foreign contaminate is removed in prep for Tyler to weld
-
Installed new UMI Performance rear supports
-
Reinstalled brake lines as best as I could to the chasis and frame


